 wehub-resource-sync
f36e2104d8
wehub-resource-sync
f36e2104d8
tests / ragflow_tests_infinity (push) Has been cancelled
tests / ragflow_tests_elasticsearch (push) Has been cancelled
sep-tests / ragflow_preflight (push) Has been cancelled
sep-tests / ragflow_tests_infinity (push) Has been cancelled
sep-tests / ragflow_tests_elasticsearch (push) Has been cancelled
tests / ragflow_preflight (push) Has been cancelled
24 lines
1.3 KiB
Markdown
24 lines
1.3 KiB
Markdown
---
|
|
sidebar_position: 30
|
|
slug: /embed_agent_into_webpage
|
|
sidebar_custom_props: {
|
|
categoryIcon: LucideMonitorDot
|
|
}
|
|
---
|
|
# Embed Agent into webpage
|
|
|
|
You can use iframe to embed an agent into a third-party webpage.
|
|
|
|
1. Before proceeding, you must [acquire an API key](../models/llm_api_key_setup.md); otherwise, an error message would appear.
|
|
2. On the **Agent** page, click an intended agent to access its editing page.
|
|
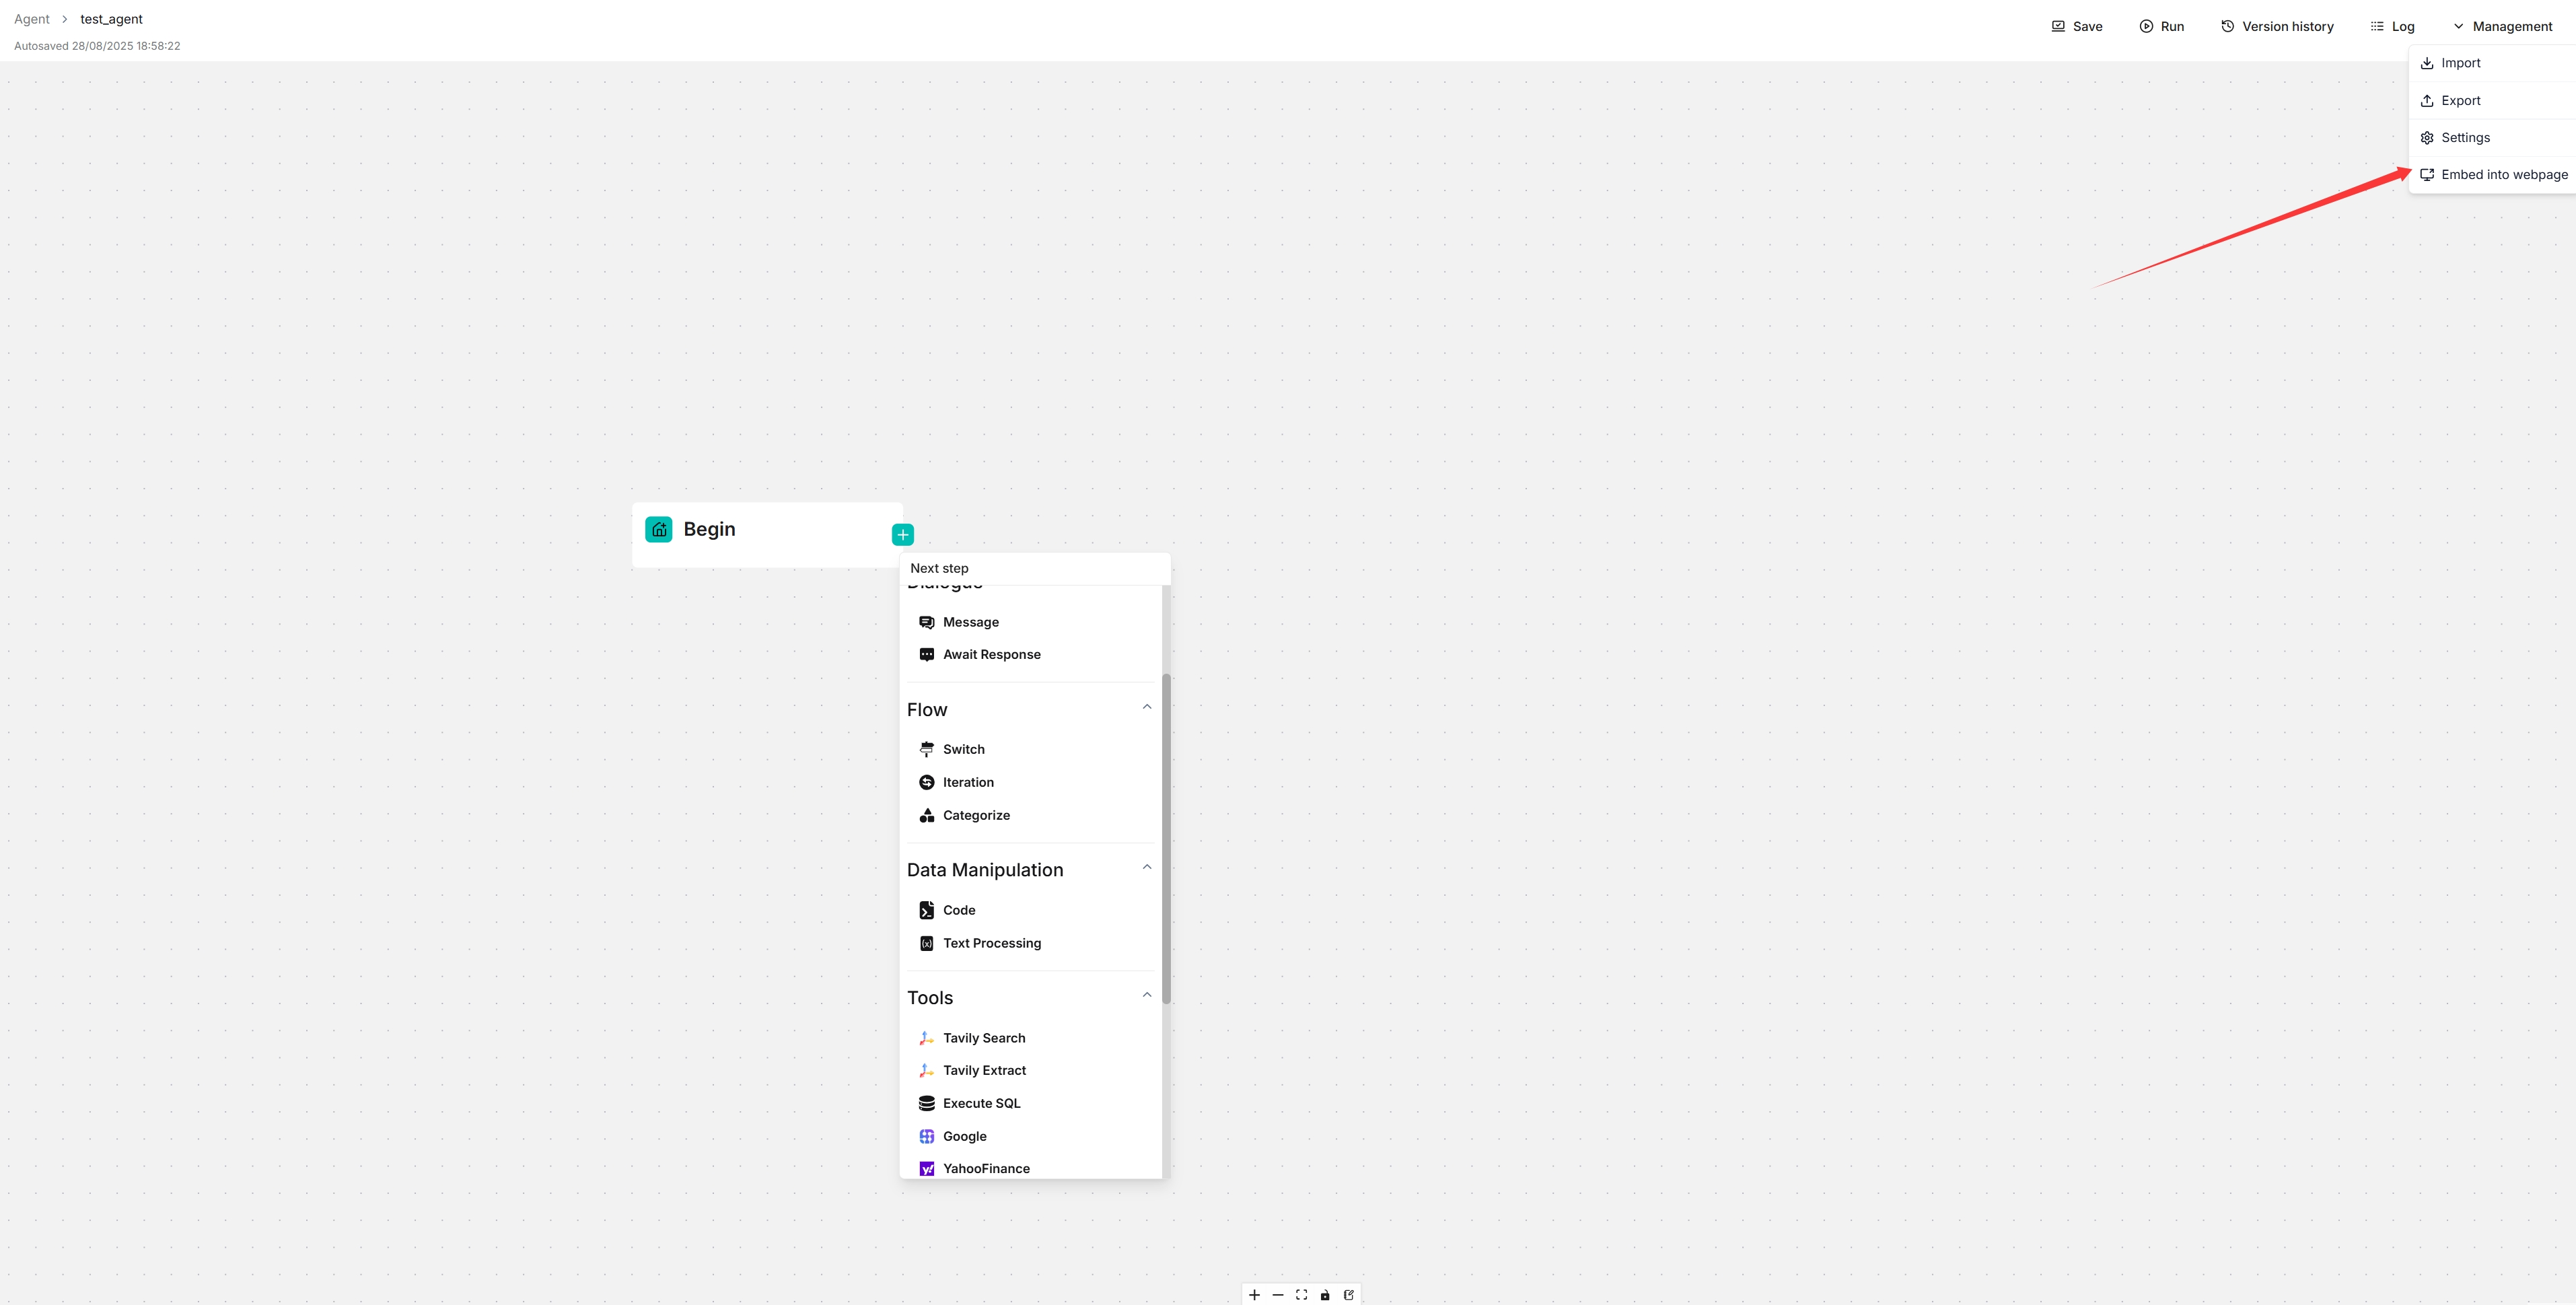
3. Click **Management > Embed into webpage** on the top right corner of the canvas to show the **Embed into webpage** dialog.
|
|
4. Configure your embed options:
|
|
- **Embed Type**: Choose between Fullscreen Chat (traditional iframe) or Floating Widget (Intercom-style)
|
|
- **Theme**: Select Light or Dark theme (for fullscreen mode)
|
|
- **Hide avatar**: Toggle avatar visibility
|
|
- **Enable Streaming Responses**: Enable streaming for widget mode
|
|
- **Locale**: Select the language for the embedded agent
|
|
5. Copy the generated iframe code and embed it into your webpage.
|
|
6. **Chat in new tab**: Click the "Chat in new tab" button to preview the agent in a separate browser tab with your configured settings. This allows you to test the agent before embedding it.
|
|
|
|
 |