wehub-resource-sync
Diving Deep with Gemini: Exploring Intelligent Interactions through the Model Context Protocol
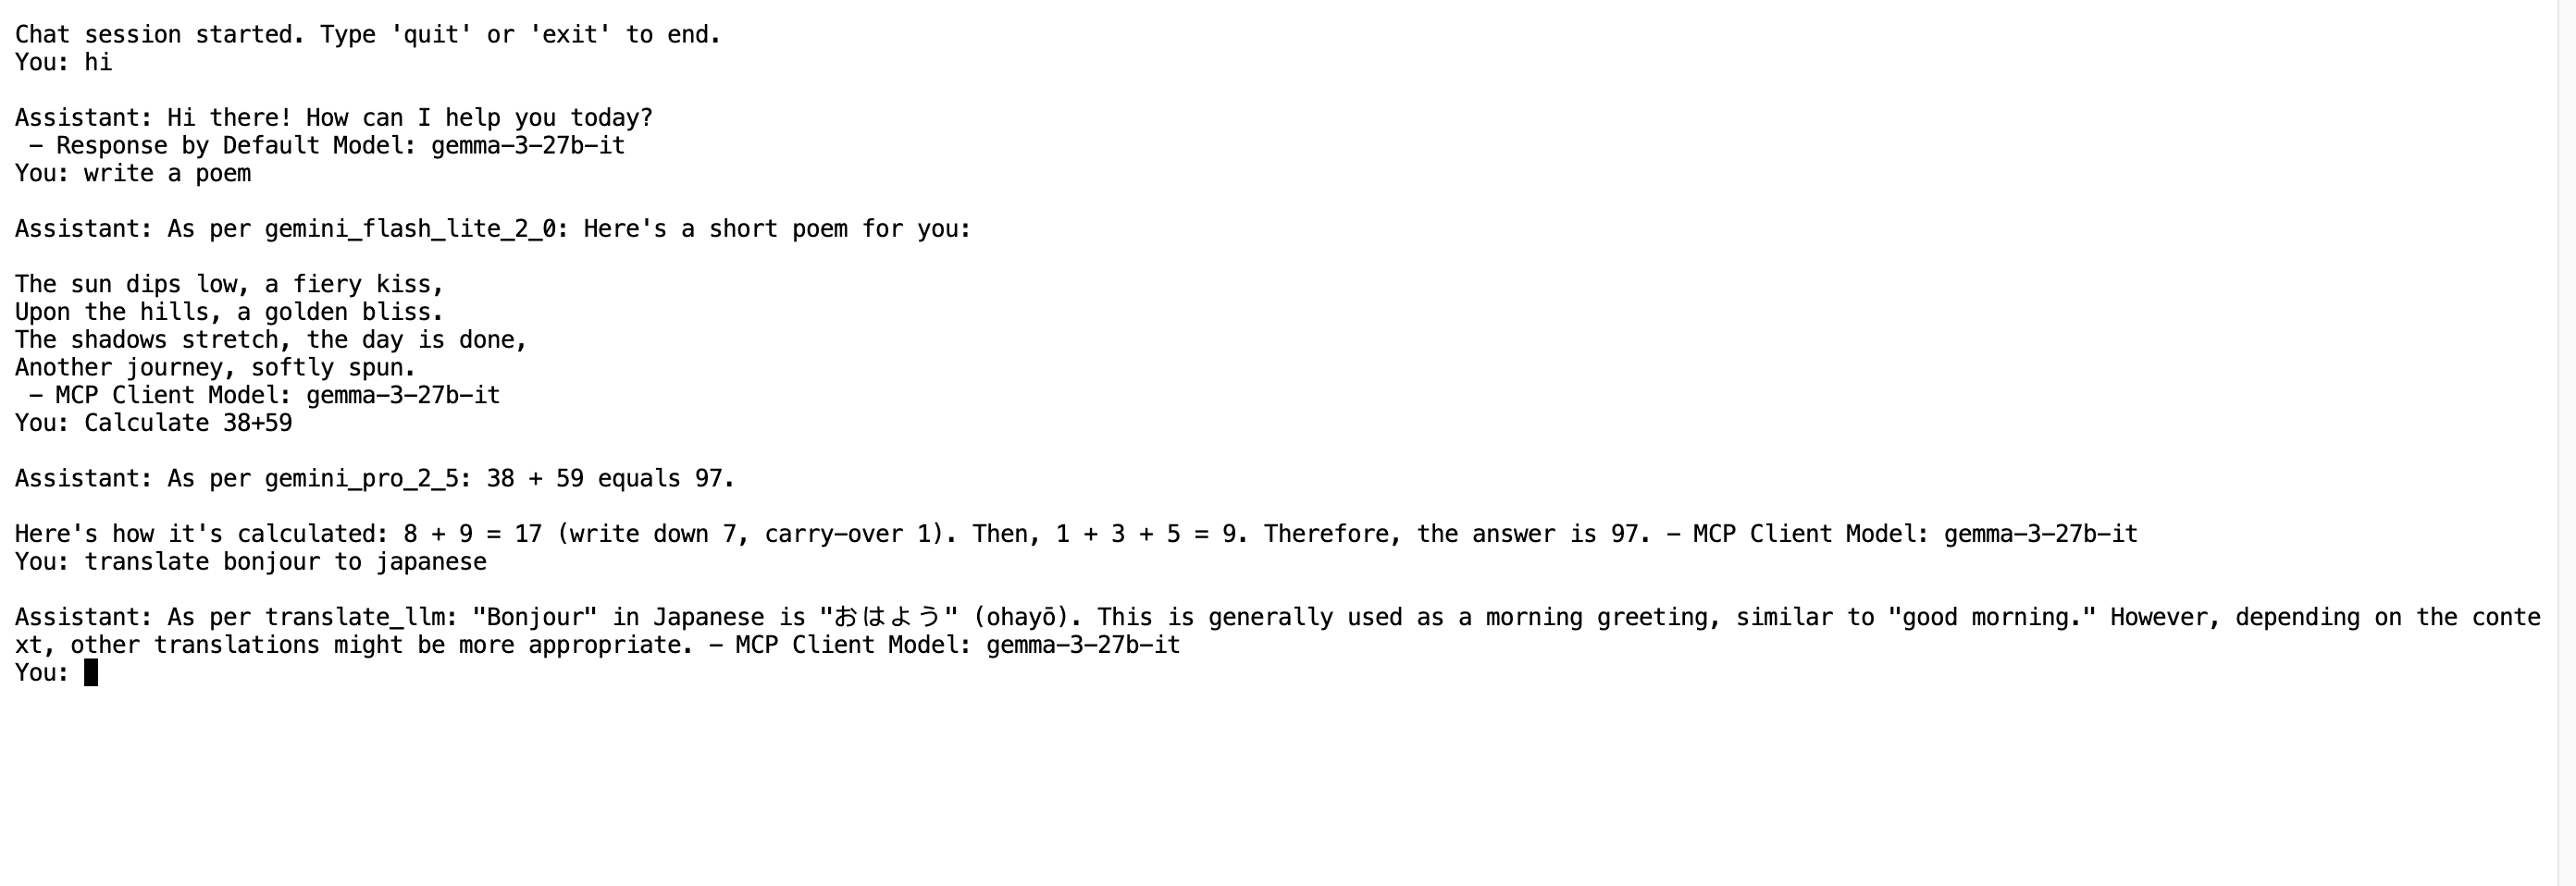
Welcome to an exciting exploration of how we can harness the power of Google's cutting-edge Gemini language models using the Model Context Protocol (MCP) framework. In this cookbook, we'll take a look under the hood at a project designed to facilitate intelligent interactions by exposing Gemini's capabilities as accessible tools within an MCP environment.
This cost-effective AI solution uses an MCP server-client architecture where affordable Gemini models act as clients and specialized models as servers, offering developers powerful yet affordable options for specific use cases.
Authors
| Authors |
|---|
| KC Ayyagari |
| Para S |
The Vision: Bridging the Gap with MCP
The goal of this project is to make interacting with complex language models like Gemini more structured and manageable. By leveraging the Model Context Protocol (MCP), we can define specific functionalities of Gemini as distinct "tools." This allows a client application to intelligently decide when and how to utilize these powerful AI features based on the context of a conversation.
Architecture

What You'll Need to Get Started
Before you can dive into this project, there are a few prerequisites you'll need to have in place:
- Python Power: You'll need Python 3.7 or a later version installed on your system.
- Package Management with Pip: Make sure you have pip, the Python package installer, ready to go.
- Google Cloud Access: This project relies on Gemini models. You'll need a Google Cloud Project with the Vertex AI API and Cloud Translation API enabled.
- Authentication is Key: Ensure you have the appropriate credentials configured for your Google Cloud Project. This could involve setting up environment variables or using a service account.
Setting Up Your Environment
Ready to get your hands dirty? Here's a step-by-step guide to setting up your local environment:
-
Clone the Code: First things first, you'll need to grab the project code from its repository:
git clone <repository-url> cd <repository-name> -
Set up
venv:python3 -m venv .venv source .venv/bin/activate -
Install the Magic Ingredients: Next, let's install all the necessary Python libraries using pip:
pip install -r requirements.txt -
Tell Us Your Secrets (Safely!): We need to provide your Google Cloud Project details and potentially the specific Gemini model you want to use. Create a
.envfile in the root of the repository and add the following information, replacing the placeholders with your actual data:GOOGLE_CLOUD_PROJECT=your-google-cloud-project-id GOOGLE_CLOUD_LOCATION=your-google-cloud-region LLM_MODEL_NAME=gemma-3-27b-it GOOGLE_API_KEY="--Your Google AI Studio API Key for Gemma: https://aistudio.google.com/apikey --"Important Note: Make sure to add
.envto your.gitignorefile. You don't want to accidentally share your credentials! -
Reauthenticate gcloud if needed:
gcloud auth application-default login gcloud auth application-default set-quota-project <your-google-cloud-project-id> -
Enable Google Cloud APIs
Go to below URL(s) and enable them:
-
(Optional) Fine-Tune Your Server: If you're using a
servers_config.jsonfile for server settings, ensure it's in the root directory and points to thegemini_server.pyscript correctly.
Bringing the Application to Life
Now for the exciting part – running the application! This project has two main components: the MCP server and the client application.
Starting the MCP Server
Open your terminal and navigate to the project directory. Then, execute the following command:
cd src
python gemini_client.py