 wehub-resource-sync
82 KiB
Note
本文档由 WeHub 基于上游 README 翻译整理,属于社区翻译,非官方中文文档。
English · 原始项目 · 上游 README
原作者、版权与许可证归属以原始项目及本仓库 LICENSE 文件为准。
imgaug
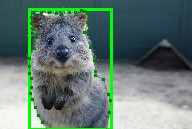
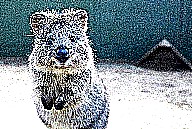
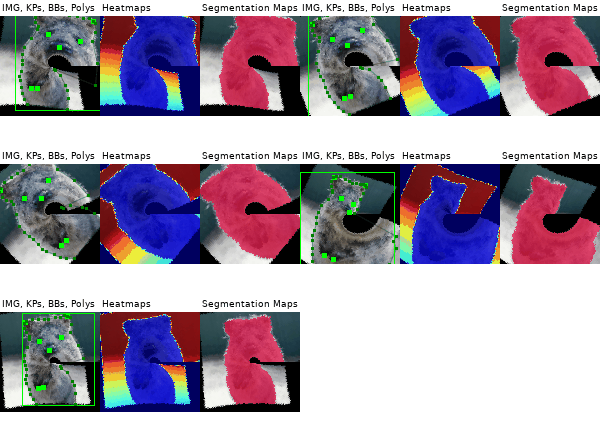
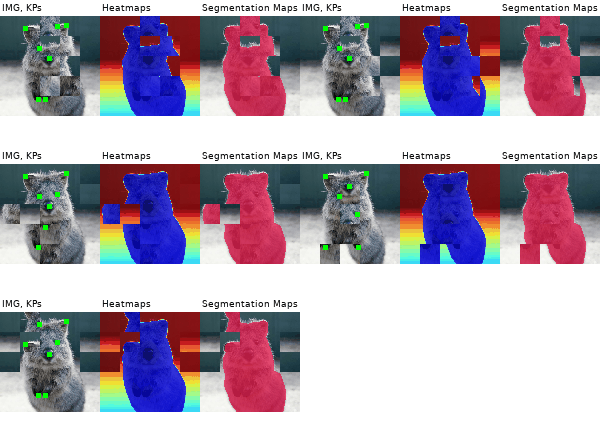
本 Python 库可帮助你在机器学习项目中对图像进行增强(augmentation)。 它将一组输入图像转换为一套新的、规模大得多的、经过轻微修改的图像。


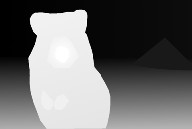
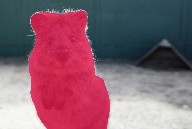
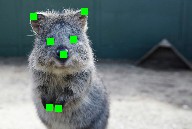
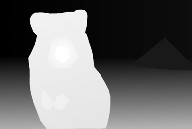
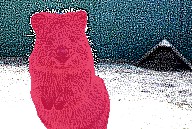
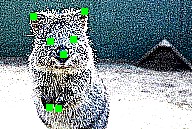
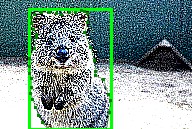
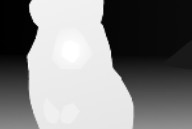
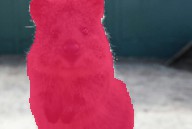
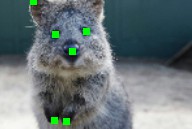
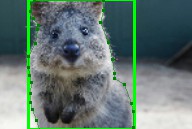
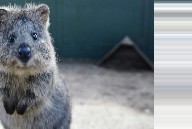
| 图像 | 热图 (Heatmaps) | 分割图 (Seg. Maps) | 关键点 (Keypoints) | 边界框、 多边形 (Bounding Boxes, Polygons) |
|
|---|---|---|---|---|---|
| 原始输入 | 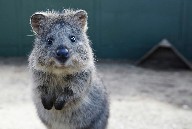 |
 |
 |
 |
 |
| 高斯噪声 + 对比度 + 锐化 |
 |
 |
 |
 |
 |
| 仿射 (Affine) | 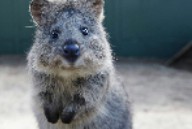 |
 |
 |
 |
 |
| 裁剪 + 填充 |
 |
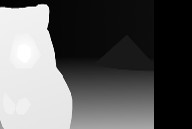 |
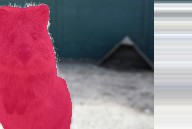 |
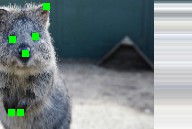 |
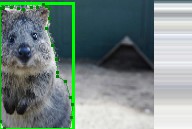 |
| 水平翻转 (Fliplr) + 透视 (Perspective) |
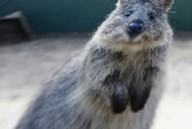 |
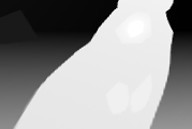 |
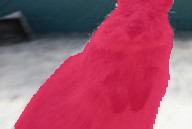 |
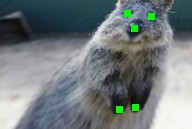 |
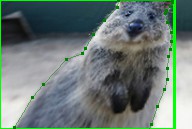 |
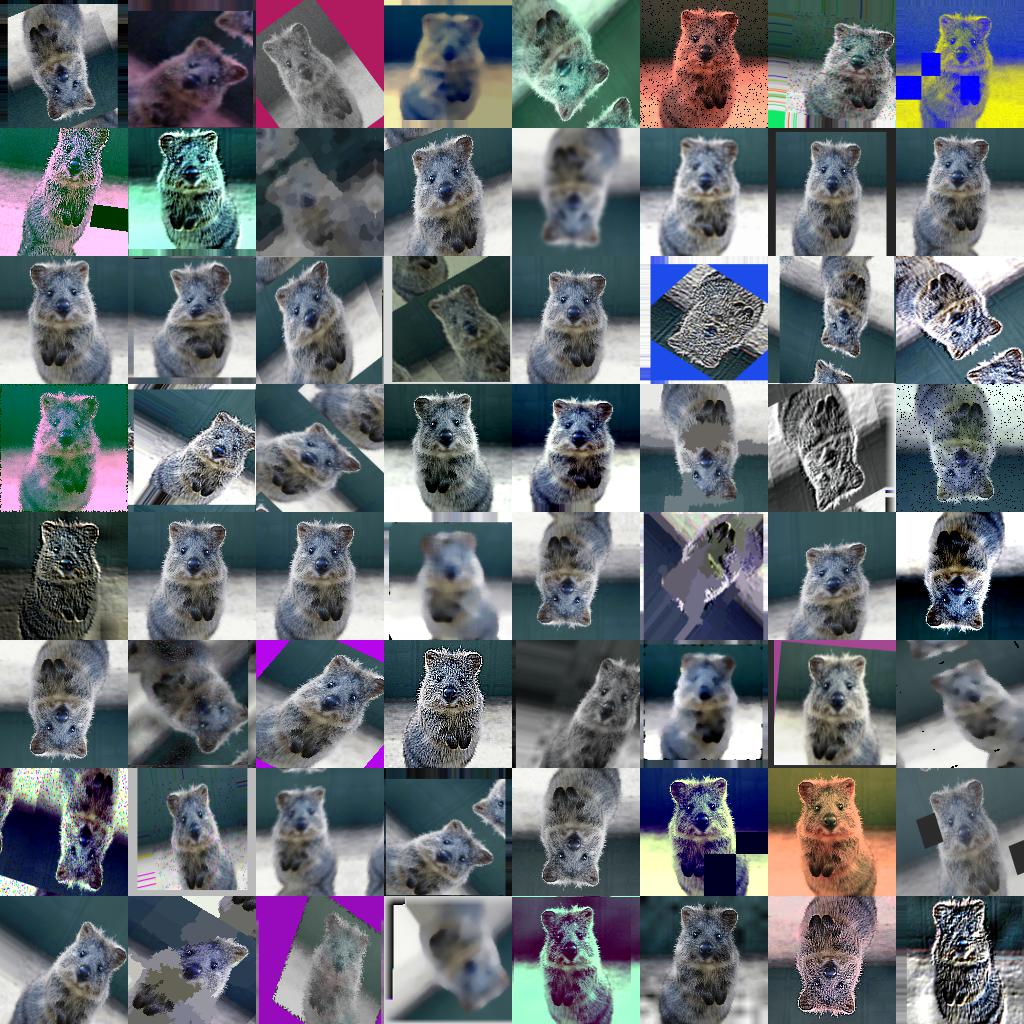
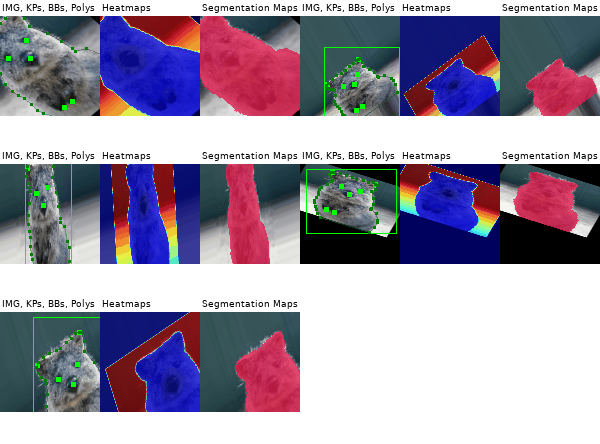
更多(强力)单张输入图像的增强示例:
目录
特性
- 多种增强技术
- 例如:仿射变换、透视变换、对比度变化、高斯噪声、区域 dropout、色相/饱和度变化、裁剪/填充、模糊……
- 针对高性能进行了优化
- 可轻松仅对部分图像应用增强
- 可轻松以随机顺序应用增强
- 支持
- 图像(完整支持 uint8,其他 dtype 请参阅文档)
- 热图 (Heatmaps, float32)、分割图 (Segmentation Maps, int)、掩码 (Masks, bool)
- 可大于或小于对应图像。无需为例如裁剪等操作额外编写代码。
- 关键点/地标 (Keypoints/Landmarks, int/float 坐标)
- 边界框 (Bounding Boxes, int/float 坐标)
- 多边形 (Polygons, int/float 坐标)
- 折线 (Line Strings, int/float 坐标)
- 自动对齐采样的随机值
- 示例:将图像及其分割图按从
uniform(-10°, 45°)采样的同一数值旋转。(0 行额外代码。)
- 示例:将图像及其分割图按从
- 以概率分布作为参数
- 示例:按从
uniform(-10°, 45°)采样的数值旋转图像。 - 示例:按从
ABS(N(0, 20.0))*(1+B(1.0, 1.0))采样的数值旋转图像,其中ABS(.)为绝对值函数,N(.)为高斯分布 (gaussian distribution),B(.)为 beta 分布。
- 示例:按从
- 众多辅助函数
- 示例:绘制热图、分割图、关键点、边界框……
- 示例:缩放分割图、对图像/图进行平均/最大池化、按宽高比填充图像(例如变为正方形)
- 示例:将关键点转换为距离图、从图像中提取边界框内的像素、将多边形裁剪到图像平面……
- 支持在多 CPU 核心上进行增强
安装
该库支持 Python 2.7 和 3.4+。
安装:Anaconda
要在 Anaconda 中安装该库,请执行以下命令:
conda config --add channels conda-forge
conda install imgaug
你可以通过 conda remove imgaug 再次卸载该库。
安装:pip
然后通过 pypi 安装 imgaug(可能落后于 GitHub 版本):
pip install imgaug
或直接从 GitHub 安装最新版本:
pip install git+https://github.com/aleju/imgaug.git
要卸载该库,只需执行 pip uninstall imgaug。
文档
示例 Jupyter notebook:
更多 notebook:imgaug-doc/notebooks.
ReadTheDocs 示例页面:
更多 RTD 文档:imgaug.readthedocs.io.
本项目所有文档相关文件均托管在 仓库 imgaug-doc.
近期变更
- 0.4.0:新增 augmenter,后端改为批量增强(batchwise augmentation), 支持 numpy 1.18 和 Python 3.8。
- 0.3.0:重构分割图增强,适配 numpy 1.17+ 随机数采样 API,新增多个 augmenter。
- 0.2.9:新增多边形增强、线串增强, 简化增强接口。
- 0.2.8:改进性能、dtype 支持和多核增强。
示例图像
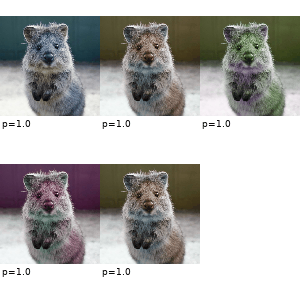
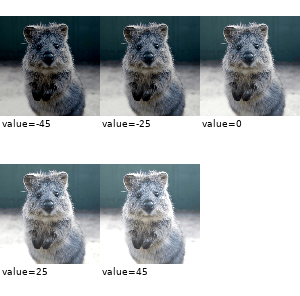
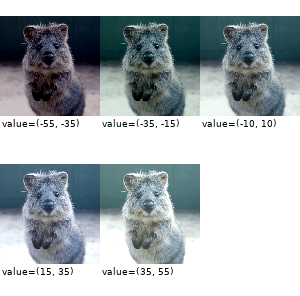
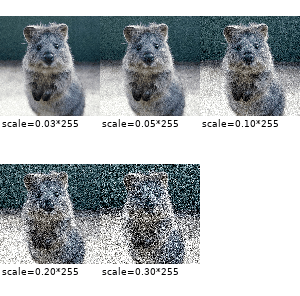
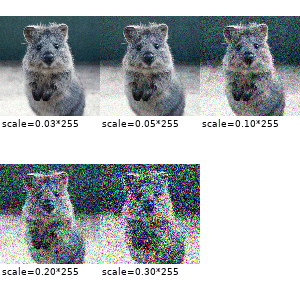
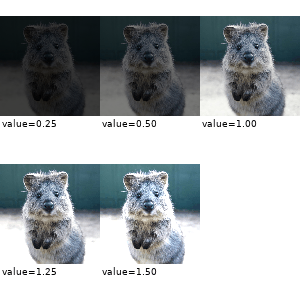
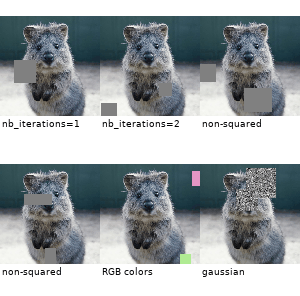
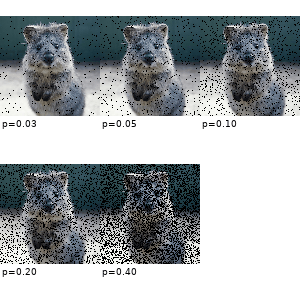
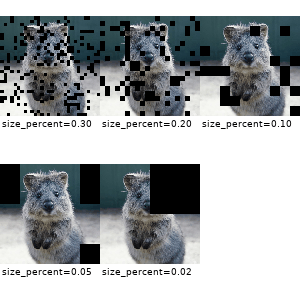
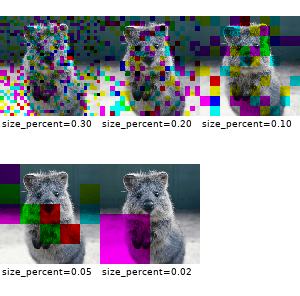
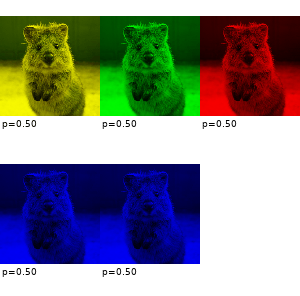
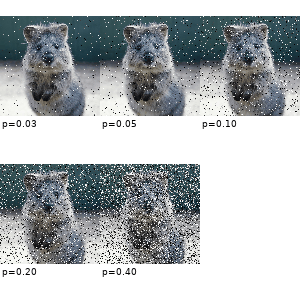
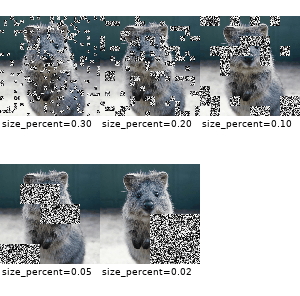
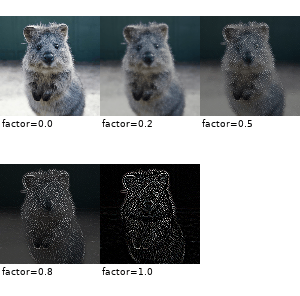
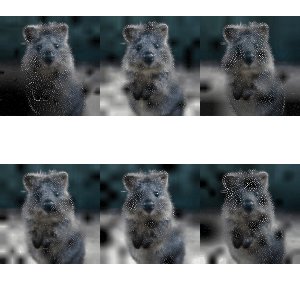
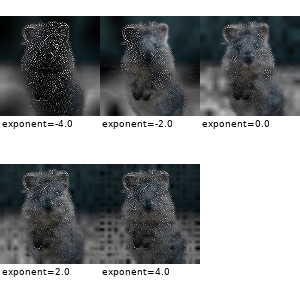
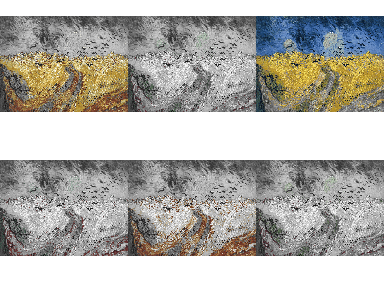
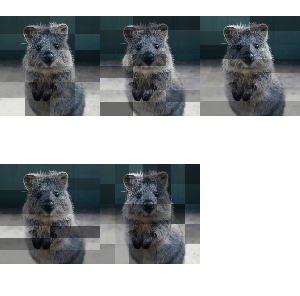
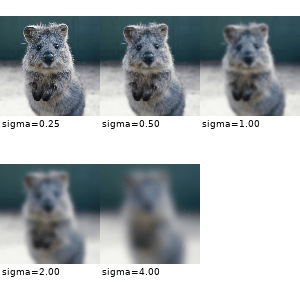
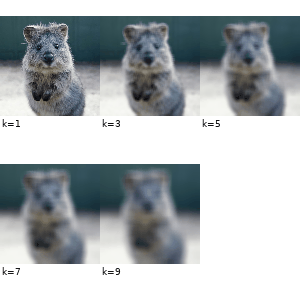
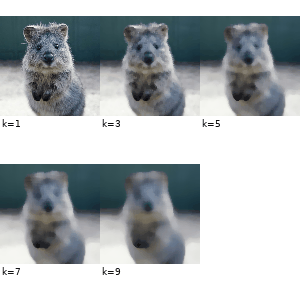
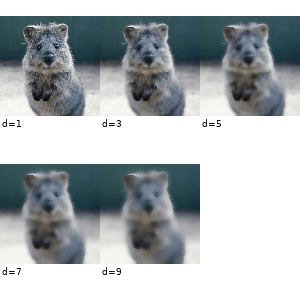
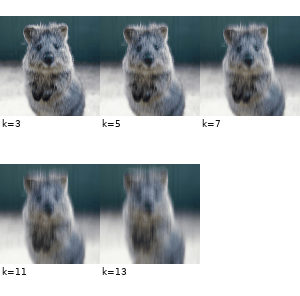
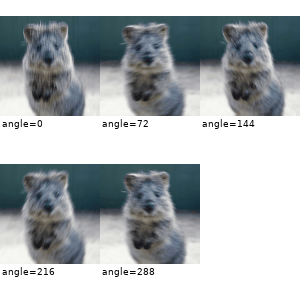
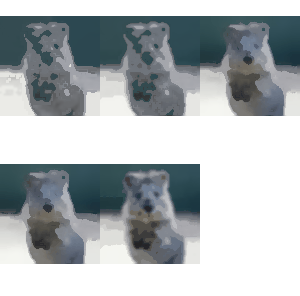
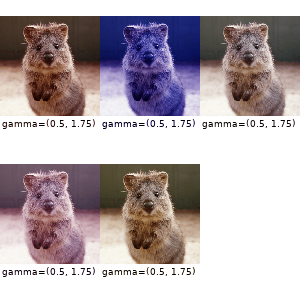
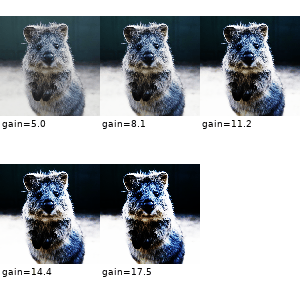
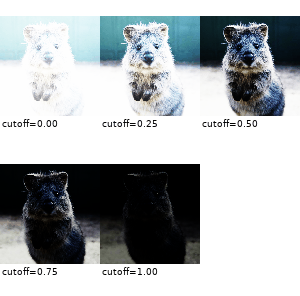
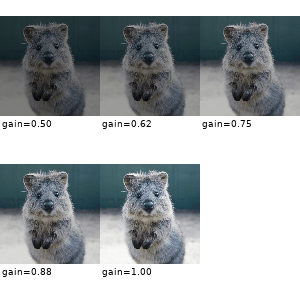
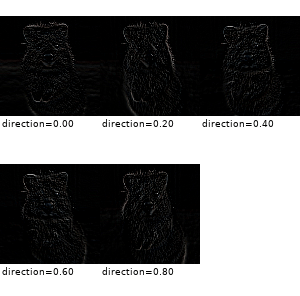
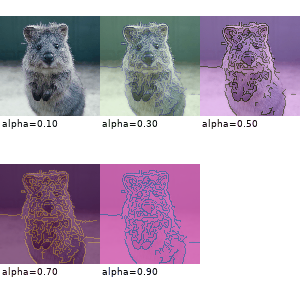
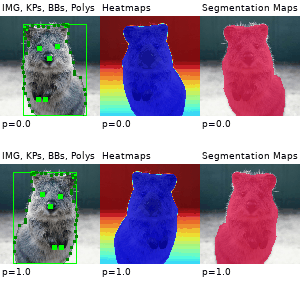
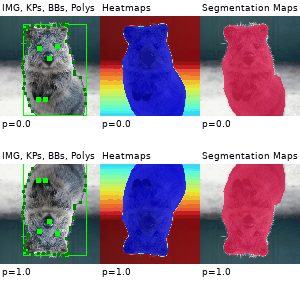
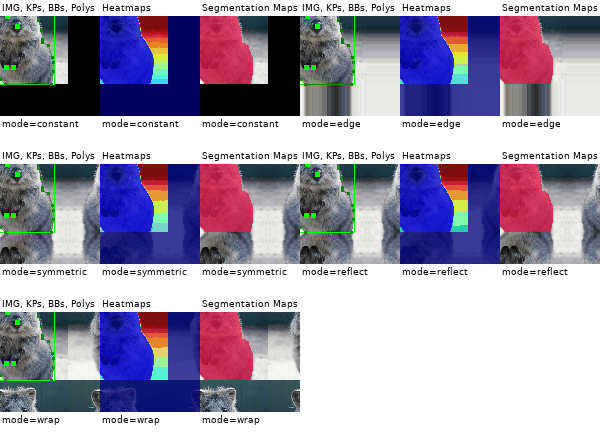
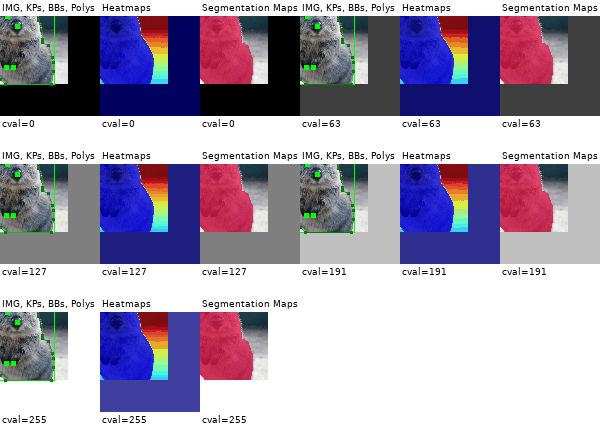
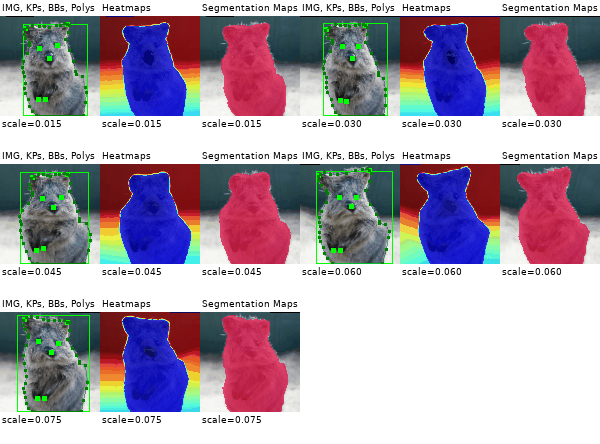
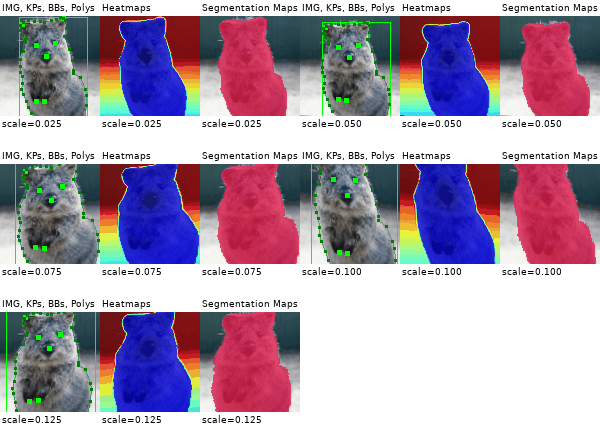
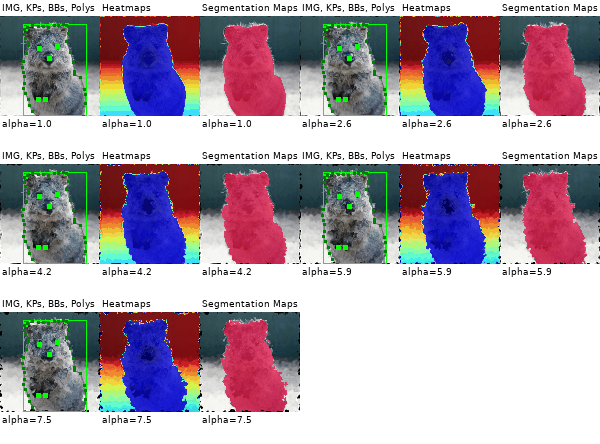
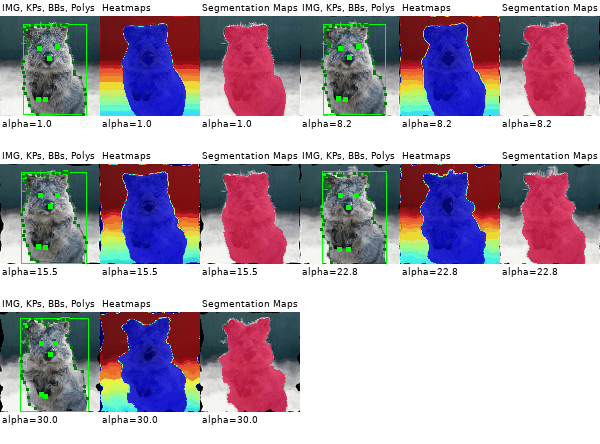
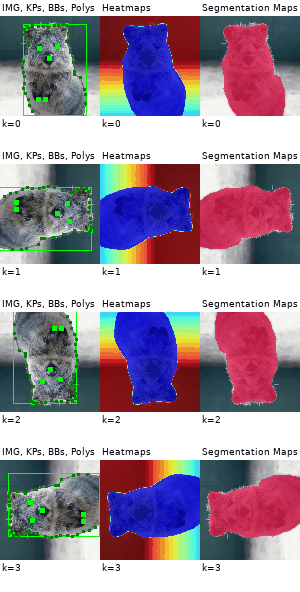
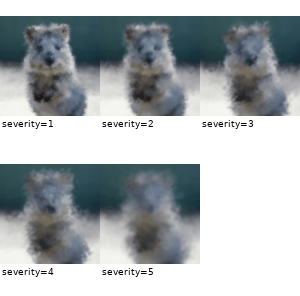
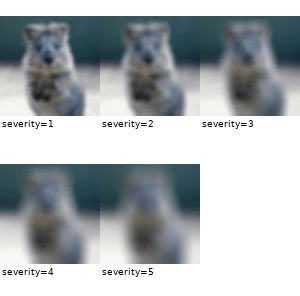
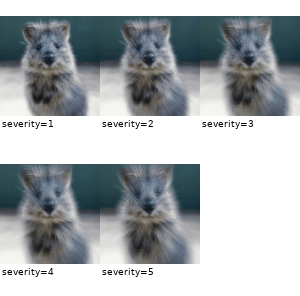
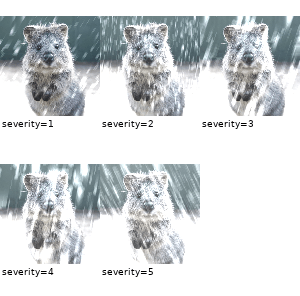
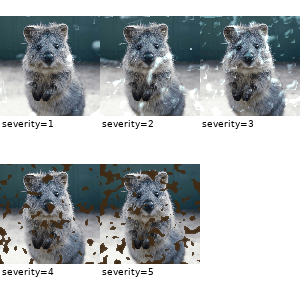
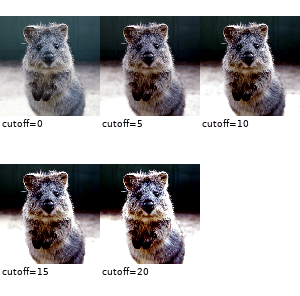
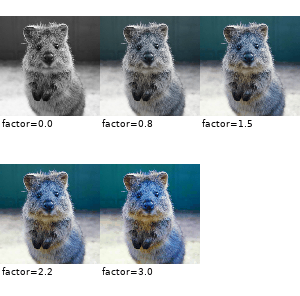
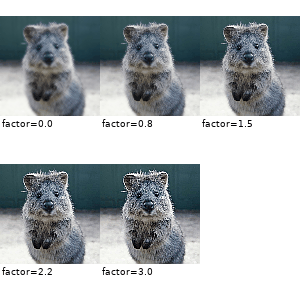
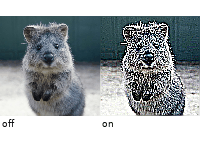
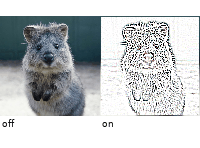
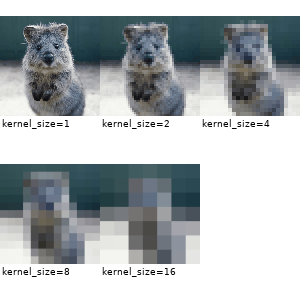
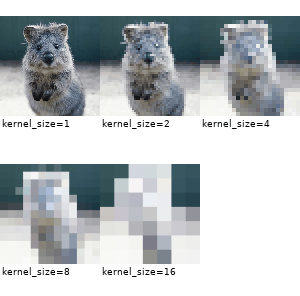
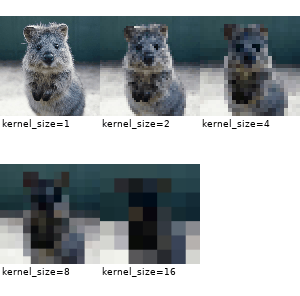
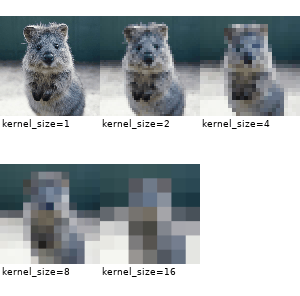
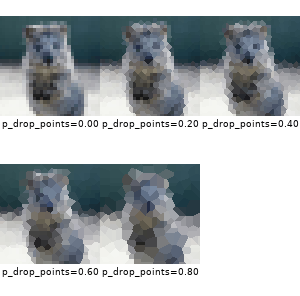
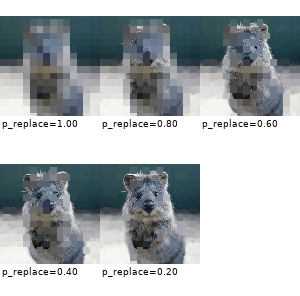
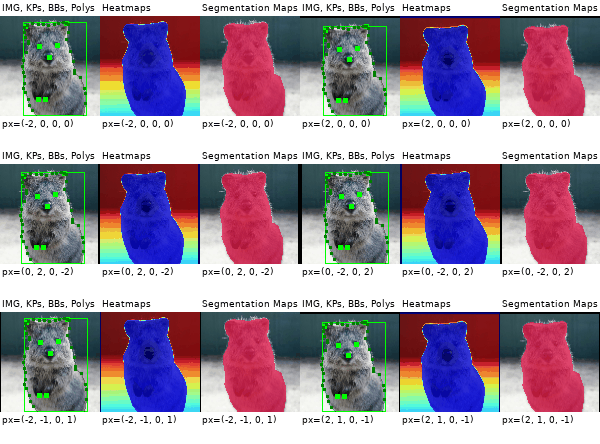
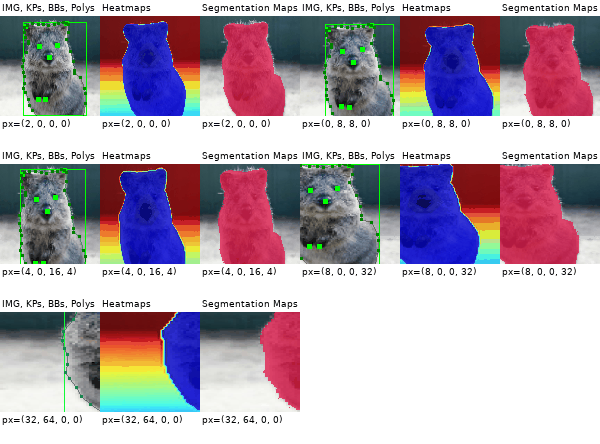
下图展示了大多数增强技术的示例。
以 (a, b) 形式书写的值表示均匀分布(uniform distribution),
即该值从区间 [a, b] 中随机选取。
(几乎)所有 augmenter 均支持线串,但此处未显式可视化。
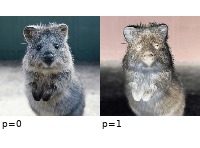
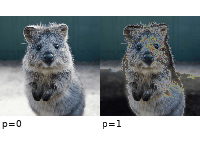
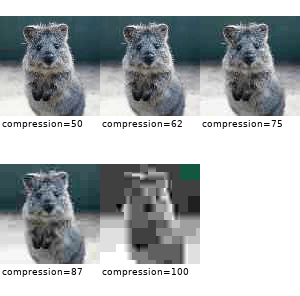
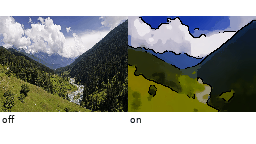
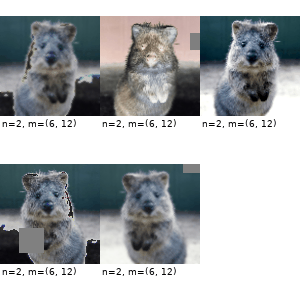
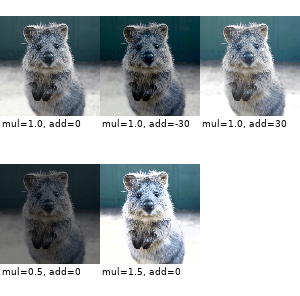
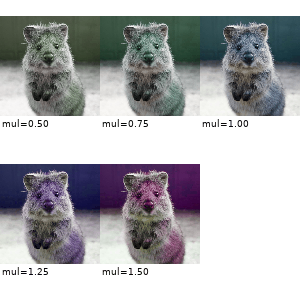
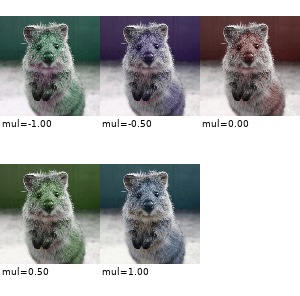
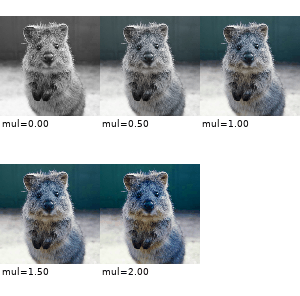
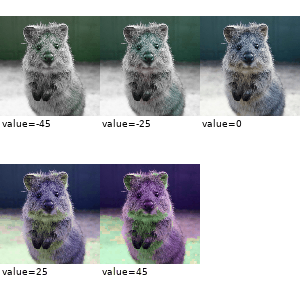
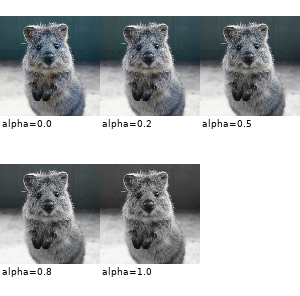
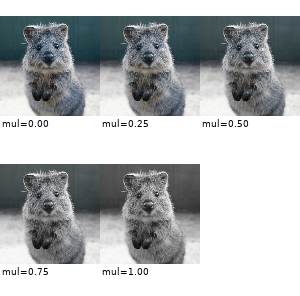
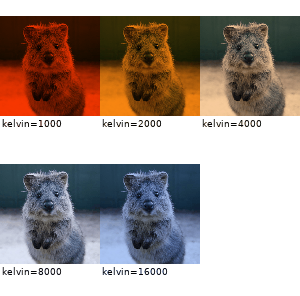
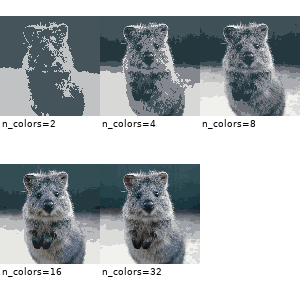
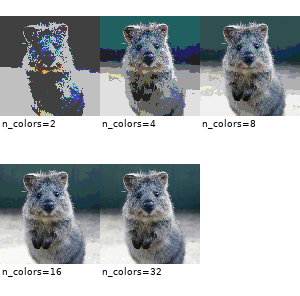
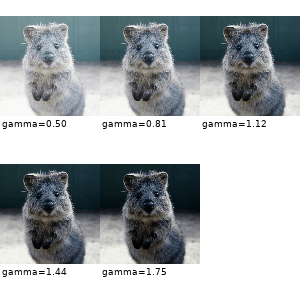
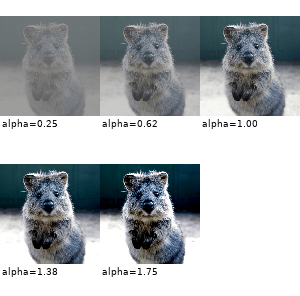
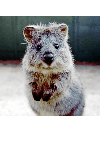
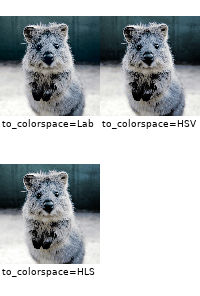
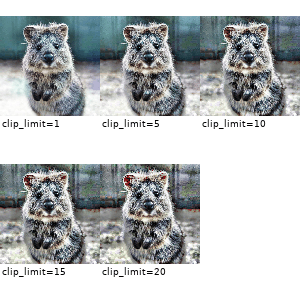
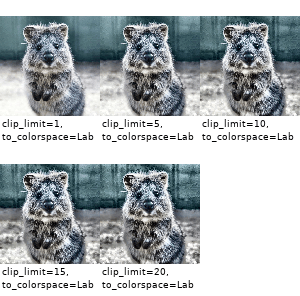
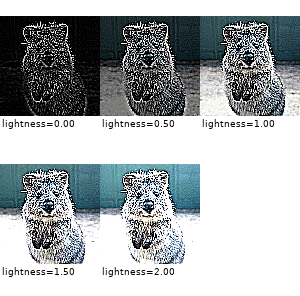
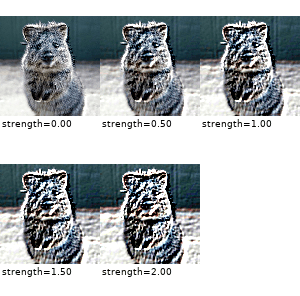
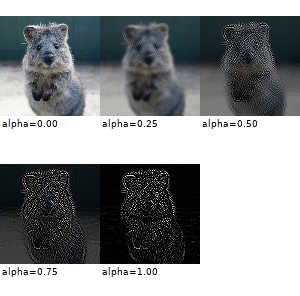
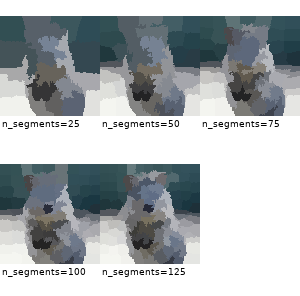
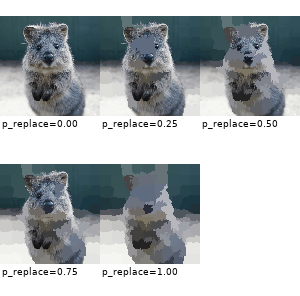
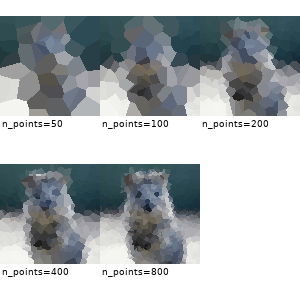
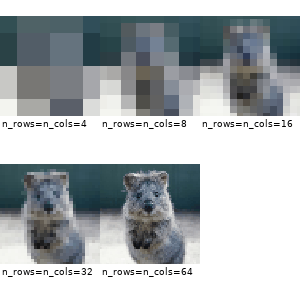
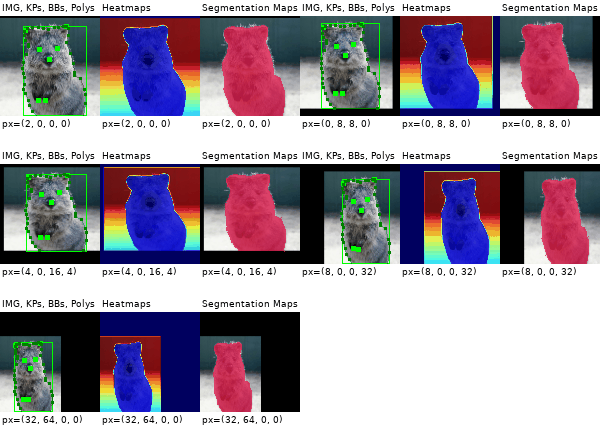
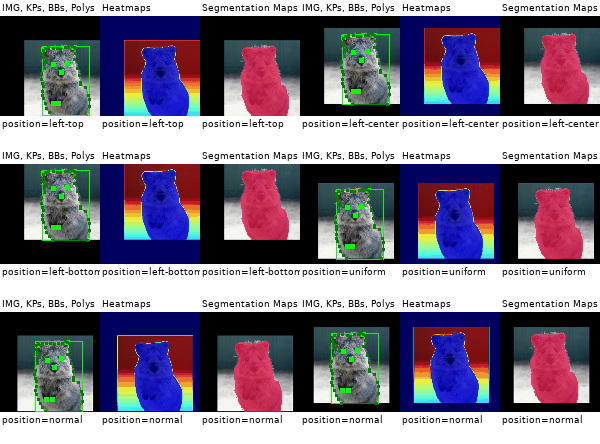
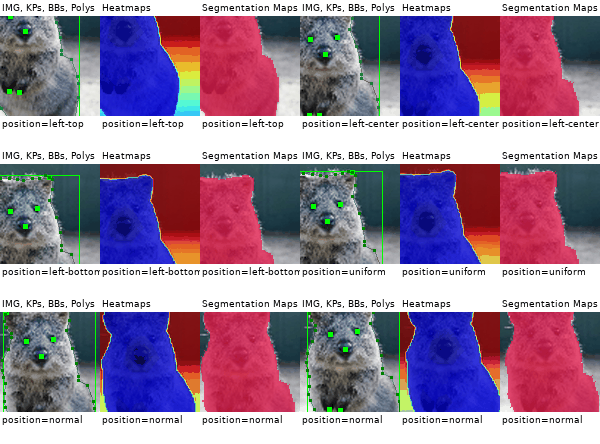
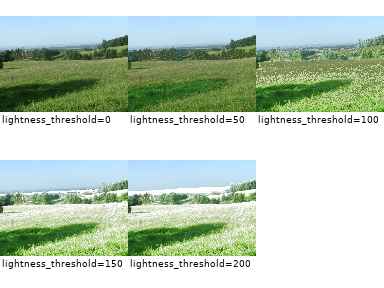
代码示例
示例:简单训练设置
一种标准的机器学习场景。 按图像批次进行训练,并通过裁剪、水平翻转("Fliplr")与高斯模糊(gaussian blur)对每个批次进行增强:
import numpy as np
import imgaug.augmenters as iaa

def load_batch(batch_idx):
    # dummy function, implement this
    # Return a numpy array of shape (N, height, width, #channels)
    # or a list of (height, width, #channels) arrays (may have different image
    # sizes).
    # Images should be in RGB for colorspace augmentations.
    # (cv2.imread() returns BGR!)
    # Images should usually be in uint8 with values from 0-255.
    return np.zeros((128, 32, 32, 3), dtype=np.uint8) + (batch_idx % 255)

def train_on_images(images):
    # dummy function, implement this
    pass

# Pipeline:
# (1) Crop images from each side by 1-16px, do not resize the results
#     images back to the input size. Keep them at the cropped size.
# (2) Horizontally flip 50% of the images.
# (3) Blur images using a gaussian kernel with sigma between 0.0 and 3.0.
seq = iaa.Sequential([
    iaa.Crop(px=(1, 16), keep_size=False),
    iaa.Fliplr(0.5),
    iaa.GaussianBlur(sigma=(0, 3.0))
])

for batch_idx in range(100):
    images = load_batch(batch_idx)
    images_aug = seq(images=images)  # done by the library
    train_on_images(images_aug)
示例:非常复杂的增强流水线
对图像应用非常重的增强流水线(用于生成本 README 最顶部的图像):
import numpy as np
import imgaug as ia
import imgaug.augmenters as iaa

# random example images
images = np.random.randint(0, 255, (16, 128, 128, 3), dtype=np.uint8)

# Sometimes(0.5, ...) applies the given augmenter in 50% of all cases,
# e.g. Sometimes(0.5, GaussianBlur(0.3)) would blur roughly every second image.
sometimes = lambda aug: iaa.Sometimes(0.5, aug)

# Define our sequence of augmentation steps that will be applied to every image
# All augmenters with per_channel=0.5 will sample one value _per image_
# in 50% of all cases. In all other cases they will sample new values
# _per channel_.

seq = iaa.Sequential(
    [
        # apply the following augmenters to most images
        iaa.Fliplr(0.5), # horizontally flip 50% of all images
        iaa.Flipud(0.2), # vertically flip 20% of all images
        # crop images by -5% to 10% of their height/width
        sometimes(iaa.CropAndPad(
            percent=(-0.05, 0.1),
            pad_mode=ia.ALL,
            pad_cval=(0, 255)
        )),
        sometimes(iaa.Affine(
            scale={"x": (0.8, 1.2), "y": (0.8, 1.2)}, # scale images to 80-120% of their size, individually per axis
            translate_percent={"x": (-0.2, 0.2), "y": (-0.2, 0.2)}, # translate by -20 to +20 percent (per axis)
            rotate=(-45, 45), # rotate by -45 to +45 degrees
            shear=(-16, 16), # shear by -16 to +16 degrees
            order=[0, 1], # use nearest neighbour or bilinear interpolation (fast)
            cval=(0, 255), # if mode is constant, use a cval between 0 and 255
            mode=ia.ALL # use any of scikit-image's warping modes (see 2nd image from the top for examples)
        )),
        # execute 0 to 5 of the following (less important) augmenters per image
        # don't execute all of them, as that would often be way too strong
        iaa.SomeOf((0, 5),
            [
                sometimes(iaa.Superpixels(p_replace=(0, 1.0), n_segments=(20, 200))), # convert images into their superpixel representation
                iaa.OneOf([
                    iaa.GaussianBlur((0, 3.0)), # blur images with a sigma between 0 and 3.0
                    iaa.AverageBlur(k=(2, 7)), # blur image using local means with kernel sizes between 2 and 7
                    iaa.MedianBlur(k=(3, 11)), # blur image using local medians with kernel sizes between 2 and 7
                ]),
                iaa.Sharpen(alpha=(0, 1.0), lightness=(0.75, 1.5)), # sharpen images
                iaa.Emboss(alpha=(0, 1.0), strength=(0, 2.0)), # emboss images
                # search either for all edges or for directed edges,
                # blend the result with the original image using a blobby mask
                iaa.SimplexNoiseAlpha(iaa.OneOf([
                    iaa.EdgeDetect(alpha=(0.5, 1.0)),
                    iaa.DirectedEdgeDetect(alpha=(0.5, 1.0), direction=(0.0, 1.0)),
                ])),
                iaa.AdditiveGaussianNoise(loc=0, scale=(0.0, 0.05*255), per_channel=0.5), # add gaussian noise to images
                iaa.OneOf([
                    iaa.Dropout((0.01, 0.1), per_channel=0.5), # randomly remove up to 10% of the pixels
                    iaa.CoarseDropout((0.03, 0.15), size_percent=(0.02, 0.05), per_channel=0.2),
                ]),
                iaa.Invert(0.05, per_channel=True), # invert color channels
                iaa.Add((-10, 10), per_channel=0.5), # change brightness of images (by -10 to 10 of original value)
                iaa.AddToHueAndSaturation((-20, 20)), # change hue and saturation
                # either change the brightness of the whole image (sometimes
                # per channel) or change the brightness of subareas
                iaa.OneOf([
                    iaa.Multiply((0.5, 1.5), per_channel=0.5),
                    iaa.FrequencyNoiseAlpha(
                        exponent=(-4, 0),
                        first=iaa.Multiply((0.5, 1.5), per_channel=True),
                        second=iaa.LinearContrast((0.5, 2.0))
                    )
                ]),
                iaa.LinearContrast((0.5, 2.0), per_channel=0.5), # improve or worsen the contrast
                iaa.Grayscale(alpha=(0.0, 1.0)),
                sometimes(iaa.ElasticTransformation(alpha=(0.5, 3.5), sigma=0.25)), # move pixels locally around (with random strengths)
                sometimes(iaa.PiecewiseAffine(scale=(0.01, 0.05))), # sometimes move parts of the image around
                sometimes(iaa.PerspectiveTransform(scale=(0.01, 0.1)))
            ],
            random_order=True
        )
    ],
    random_order=True
)
images_aug = seq(images=images)
示例:增强图像与关键点
在同一图像上增强图像与关键点/地标(landmarks):
import numpy as np
import imgaug.augmenters as iaa

images = np.zeros((2, 128, 128, 3), dtype=np.uint8)  # two example images
images[:, 64, 64, :] = 255
points = [
    [(10.5, 20.5)],  # points on first image
    [(50.5, 50.5), (60.5, 60.5), (70.5, 70.5)]  # points on second image
]

seq = iaa.Sequential([
    iaa.AdditiveGaussianNoise(scale=0.05*255),
    iaa.Affine(translate_px={"x": (1, 5)})
])

# augment keypoints and images
images_aug, points_aug = seq(images=images, keypoints=points)

print("Image 1 center", np.argmax(images_aug[0, 64, 64:64+6, 0]))
print("Image 2 center", np.argmax(images_aug[1, 64, 64:64+6, 0]))
print("Points 1", points_aug[0])
print("Points 2", points_aug[1])
请注意,imgaug 中的所有坐标均为亚像素(subpixel)精度,这也是
x=0.5, y=0.5 表示左上角像素中心的原因。
示例:增强图像与边界框
import numpy as np
import imgaug as ia
import imgaug.augmenters as iaa

images = np.zeros((2, 128, 128, 3), dtype=np.uint8)  # two example images
images[:, 64, 64, :] = 255
bbs = [
    [ia.BoundingBox(x1=10.5, y1=15.5, x2=30.5, y2=50.5)],
    [ia.BoundingBox(x1=10.5, y1=20.5, x2=50.5, y2=50.5),
     ia.BoundingBox(x1=40.5, y1=75.5, x2=70.5, y2=100.5)]
]

seq = iaa.Sequential([
    iaa.AdditiveGaussianNoise(scale=0.05*255),
    iaa.Affine(translate_px={"x": (1, 5)})
])

images_aug, bbs_aug = seq(images=images, bounding_boxes=bbs)
示例:增强图像与多边形
import numpy as np
import imgaug as ia
import imgaug.augmenters as iaa

images = np.zeros((2, 128, 128, 3), dtype=np.uint8)  # two example images
images[:, 64, 64, :] = 255
polygons = [
    [ia.Polygon([(10.5, 10.5), (50.5, 10.5), (50.5, 50.5)])],
    [ia.Polygon([(0.0, 64.5), (64.5, 0.0), (128.0, 128.0), (64.5, 128.0)])]
]

seq = iaa.Sequential([
    iaa.AdditiveGaussianNoise(scale=0.05*255),
    iaa.Affine(translate_px={"x": (1, 5)})
])

images_aug, polygons_aug = seq(images=images, polygons=polygons)
示例:增强图像与 LineString
LineString 与多边形类似,但不闭合,可能与自身相交,且没有内部区域。
import numpy as np
import imgaug as ia
import imgaug.augmenters as iaa

images = np.zeros((2, 128, 128, 3), dtype=np.uint8)  # two example images
images[:, 64, 64, :] = 255
ls = [
    [ia.LineString([(10.5, 10.5), (50.5, 10.5), (50.5, 50.5)])],
    [ia.LineString([(0.0, 64.5), (64.5, 0.0), (128.0, 128.0), (64.5, 128.0),
                    (128.0, 0.0)])]
]

seq = iaa.Sequential([
    iaa.AdditiveGaussianNoise(scale=0.05*255),
    iaa.Affine(translate_px={"x": (1, 5)})
])

images_aug, ls_aug = seq(images=images, line_strings=ls)
示例:增强图像与热力图
热力图是稠密的浮点数组,取值在 0.0 与 1.0 之间。
例如,可在训练模型预测面部关键点位置时使用。请注意,此处的热力图高度和宽度均小于
图像。imgaug 会自动处理这种情况。裁剪的像素量会
对热力图减半。
import numpy as np
import imgaug.augmenters as iaa

# Standard scenario: You have N RGB-images and additionally 21 heatmaps per
# image. You want to augment each image and its heatmaps identically.
images = np.random.randint(0, 255, (16, 128, 128, 3), dtype=np.uint8)
heatmaps = np.random.random(size=(16, 64, 64, 1)).astype(np.float32)

seq = iaa.Sequential([
    iaa.GaussianBlur((0, 3.0)),
    iaa.Affine(translate_px={"x": (-40, 40)}),
    iaa.Crop(px=(0, 10))
])

images_aug, heatmaps_aug = seq(images=images, heatmaps=heatmaps)
示例:增强图像与分割图
这与热力图类似,但稠密数组的数据类型(dtype)为 int32。
缩放等操作会自动使用最近邻(nearest neighbour)插值。
import numpy as np
import imgaug.augmenters as iaa

# Standard scenario: You have N=16 RGB-images and additionally one segmentation
# map per image. You want to augment each image and its heatmaps identically.
images = np.random.randint(0, 255, (16, 128, 128, 3), dtype=np.uint8)
segmaps = np.random.randint(0, 10, size=(16, 64, 64, 1), dtype=np.int32)

seq = iaa.Sequential([
    iaa.GaussianBlur((0, 3.0)),
    iaa.Affine(translate_px={"x": (-40, 40)}),
    iaa.Crop(px=(0, 10))
])

images_aug, segmaps_aug = seq(images=images, segmentation_maps=segmaps)
示例:可视化增强后的图像
快速展示数据增强序列的示例结果:
import numpy as np
import imgaug.augmenters as iaa

images = np.random.randint(0, 255, (16, 128, 128, 3), dtype=np.uint8)
seq = iaa.Sequential([iaa.Fliplr(0.5), iaa.GaussianBlur((0, 3.0))])

# Show an image with 8*8 augmented versions of image 0 and 8*8 augmented
# versions of image 1. Identical augmentations will be applied to
# image 0 and 1.
seq.show_grid([images[0], images[1]], cols=8, rows=8)
示例:可视化增强后的非图像数据
imgaug 包含许多辅助函数,其中包括用于快速
可视化增强后非图像结果(如边界框或热力图)的函数。
import numpy as np
import imgaug as ia

image = np.zeros((64, 64, 3), dtype=np.uint8)

# points
kps = [ia.Keypoint(x=10.5, y=20.5), ia.Keypoint(x=60.5, y=60.5)]
kpsoi = ia.KeypointsOnImage(kps, shape=image.shape)
image_with_kps = kpsoi.draw_on_image(image, size=7, color=(0, 0, 255))
ia.imshow(image_with_kps)

# bbs
bbsoi = ia.BoundingBoxesOnImage([
    ia.BoundingBox(x1=10.5, y1=20.5, x2=50.5, y2=30.5)
], shape=image.shape)
image_with_bbs = bbsoi.draw_on_image(image)
image_with_bbs = ia.BoundingBox(
    x1=50.5, y1=10.5, x2=100.5, y2=16.5
).draw_on_image(image_with_bbs, color=(255, 0, 0), size=3)
ia.imshow(image_with_bbs)

# polygons
psoi = ia.PolygonsOnImage([
    ia.Polygon([(10.5, 20.5), (50.5, 30.5), (10.5, 50.5)])
], shape=image.shape)
image_with_polys = psoi.draw_on_image(
    image, alpha_points=0, alpha_face=0.5, color_lines=(255, 0, 0))
ia.imshow(image_with_polys)

# heatmaps
hms = ia.HeatmapsOnImage(np.random.random(size=(32, 32, 1)).astype(np.float32),
                         shape=image.shape)
image_with_hms = hms.draw_on_image(image)
ia.imshow(image_with_hms)
LineString 与分割图支持类似于上文所示的方法。
示例:仅使用一次增强器
尽管该接口面向多次复用增强器实例,你也可以只使用一次。每次实例化增强器的开销通常可以忽略不计。
from imgaug import augmenters as iaa
import numpy as np

images = np.random.randint(0, 255, (16, 128, 128, 3), dtype=np.uint8)

# always horizontally flip each input image
images_aug = iaa.Fliplr(1.0)(images=images)

# vertically flip each input image with 90% probability
images_aug = iaa.Flipud(0.9)(images=images)

# blur 50% of all images using a gaussian kernel with a sigma of 3.0
images_aug = iaa.Sometimes(0.5, iaa.GaussianBlur(3.0))(images=images)
示例:多核增强
可使用 后台进程 通过方法 augment_batches(batches, background=True) 增强图像,其中 batches 为
imgaug.augmentables.batches.UnnormalizedBatch
或
imgaug.augmentables.batches.Batch.
的列表/生成器。
以下示例在后台增强一批图像批次列表:
import skimage.data
import imgaug as ia
import imgaug.augmenters as iaa
from imgaug.augmentables.batches import UnnormalizedBatch

# Number of batches and batch size for this example
nb_batches = 10
batch_size = 32

# Example augmentation sequence to run in the background
augseq = iaa.Sequential([
    iaa.Fliplr(0.5),
    iaa.CoarseDropout(p=0.1, size_percent=0.1)
])

# For simplicity, we use the same image here many times
astronaut = skimage.data.astronaut()
astronaut = ia.imresize_single_image(astronaut, (64, 64))

# Make batches out of the example image (here: 10 batches, each 32 times
# the example image)
batches = []
for _ in range(nb_batches):
    batches.append(UnnormalizedBatch(images=[astronaut] * batch_size))

# Show the augmented images.
# Note that augment_batches() returns a generator.
for images_aug in augseq.augment_batches(batches, background=True):
    ia.imshow(ia.draw_grid(images_aug.images_aug, cols=8))
如果你需要对后台数据增强(background augmentation)进行更精细的控制,例如设置随机种子(seeds)、控制使用的 CPU 核心数量或限制内存占用,请参阅相应的 multicore augmentation notebook 或查阅关于 Augmenter.pool() 和 imgaug.multicore.Pool. 的 API。
示例:将概率分布作为参数
大多数增强器(augmenter)支持使用元组 (a, b) 作为简写方式来表示
uniform(a, b),或使用列表 [a, b, c] 来表示一组允许值,并从中随机选取一个。如果你需要更复杂的概率分布(例如高斯分布、截断高斯分布或泊松分布),可以使用来自 imgaug.parameters 的随机参数(stochastic parameters):
import numpy as np
from imgaug import augmenters as iaa
from imgaug import parameters as iap

images = np.random.randint(0, 255, (16, 128, 128, 3), dtype=np.uint8)

# Blur by a value sigma which is sampled from a uniform distribution
# of range 10.1 <= x < 13.0.
# The convenience shortcut for this is: GaussianBlur((10.1, 13.0))
blurer = iaa.GaussianBlur(10 + iap.Uniform(0.1, 3.0))
images_aug = blurer(images=images)

# Blur by a value sigma which is sampled from a gaussian distribution
# N(1.0, 0.1), i.e. sample a value that is usually around 1.0.
# Clip the resulting value so that it never gets below 0.1 or above 3.0.
blurer = iaa.GaussianBlur(iap.Clip(iap.Normal(1.0, 0.1), 0.1, 3.0))
images_aug = blurer(images=images)
该库中还有许多其他概率分布,例如截断高斯分布、泊松分布或 Beta 分布。
示例:WithChannels
仅对特定图像通道应用增强器:
import numpy as np
import imgaug.augmenters as iaa

# fake RGB images
images = np.random.randint(0, 255, (16, 128, 128, 3), dtype=np.uint8)

# add a random value from the range (-30, 30) to the first two channels of
# input images (e.g. to the R and G channels)
aug = iaa.WithChannels(
  channels=[0, 1],
  children=iaa.Add((-30, 30))
)

images_aug = aug(images=images)
引用
如果本库对你的研究有所帮助,欢迎引用:
@misc{imgaug,
  author = {Jung, Alexander B.
            and Wada, Kentaro
            and Crall, Jon
            and Tanaka, Satoshi
            and Graving, Jake
            and Reinders, Christoph
            and Yadav, Sarthak
            and Banerjee, Joy
            and Vecsei, Gábor
            and Kraft, Adam
            and Rui, Zheng
            and Borovec, Jirka
            and Vallentin, Christian
            and Zhydenko, Semen
            and Pfeiffer, Kilian
            and Cook, Ben
            and Fernández, Ismael
            and De Rainville, François-Michel
            and Weng, Chi-Hung
            and Ayala-Acevedo, Abner
            and Meudec, Raphael
            and Laporte, Matias
            and others},
  title = {{imgaug}},
  howpublished = {\url{https://github.com/aleju/imgaug}},
  year = {2020},
  note = {Online; accessed 01-Feb-2020}
}